
Managing student accounts on EP
Teachers are able to quickly and easily create new student accounts, edit their details, and shuffle them into different classes. This article explains how.
In this article:
Before we begin:
If your school is integrated with Wonde, you will be unable to make changes to your classes. Accounts need to be managed via your school’s Student Management System. Find out more here.
- If you wish to add many students, we recommend that you:
- Use our Enrolment Portal to complete a bulk student import.
- Use the Class Join Code feature.
- Avoid creating duplicate accounts. This helps keep progress all in one place and prevents confusion around licensing.
We’re currently making some updates to the EP teacher interface. Until this area is updated, some actions will need to be completed via the View Manage Classes button.
Locate accounts
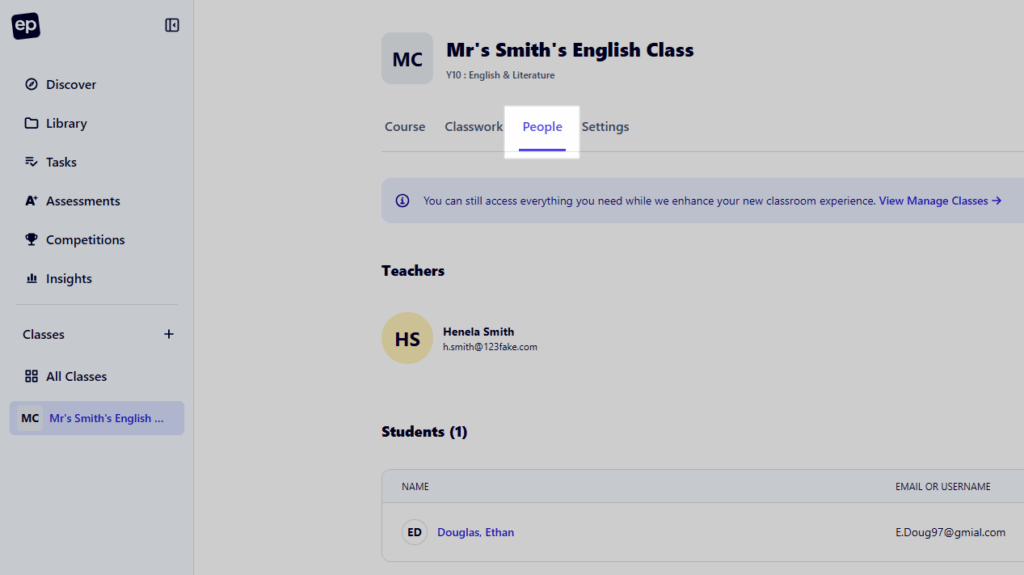
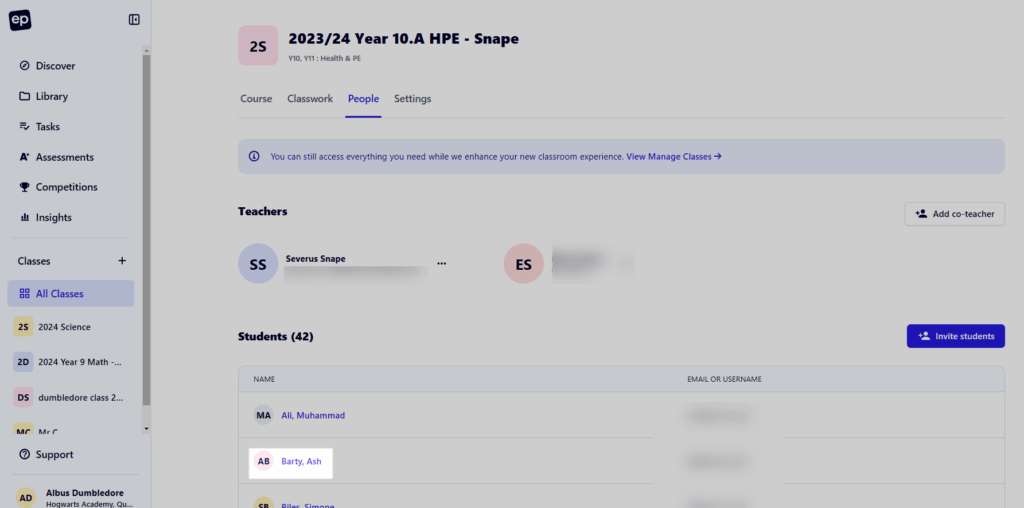
Accounts for students who are enrolled in classes assigned to you can be found by navigating to the class, and then clicking the People tab.
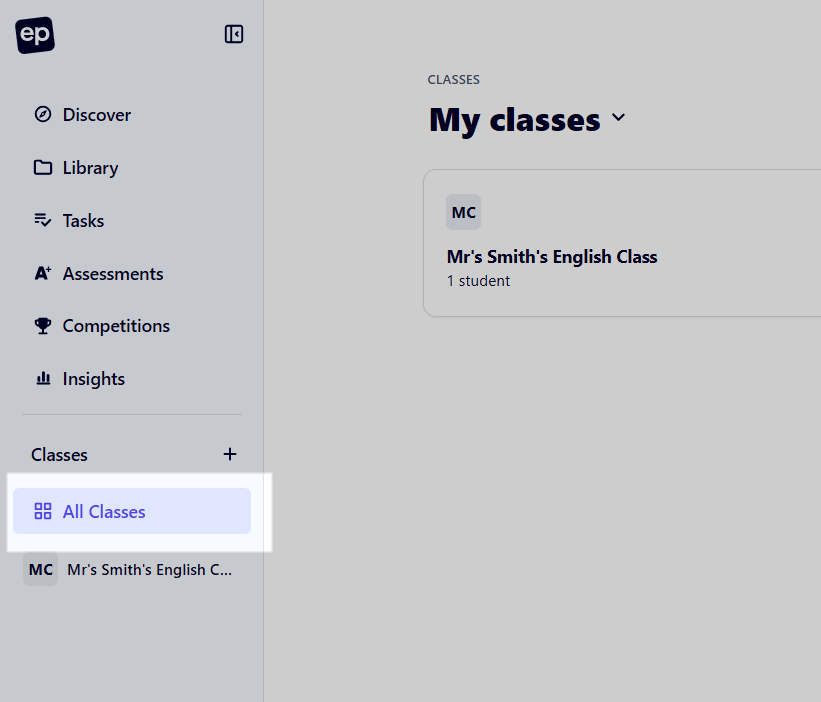
To find students in other classes, click the All Classes button.
Here, you’ll need to click the All school tab towards the top of the screen.
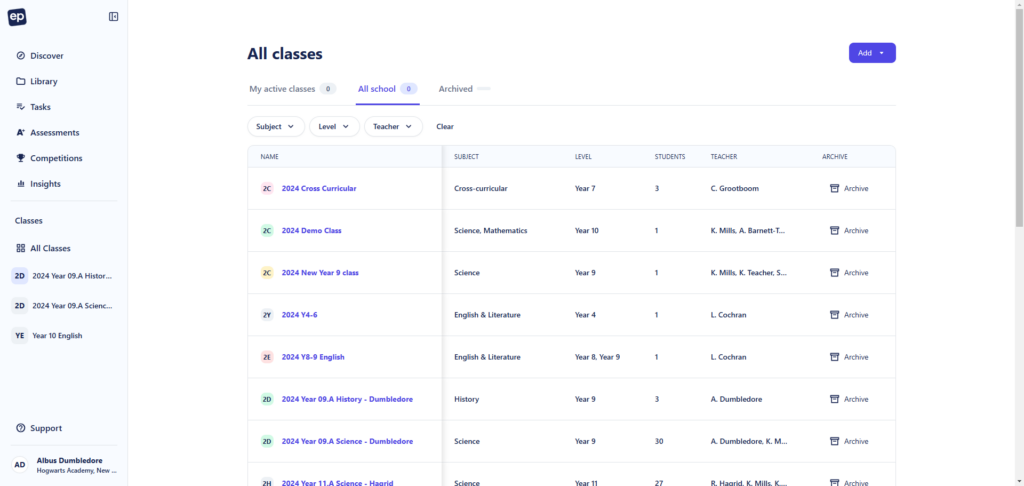
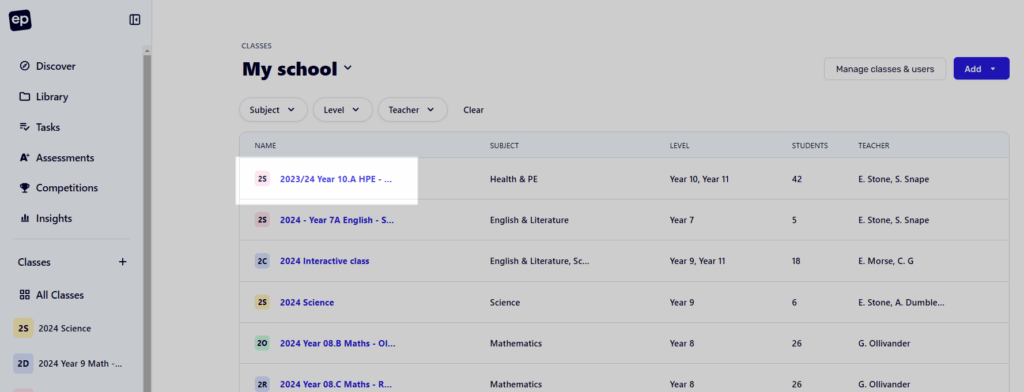
You’ll now be able to see all other classes in the school that you’re not assigned to as a teacher. Click into the desired class and find your student in that classes’ People tab.
You’ll be navigated to their account within the People area of your school. Here you’ll be able to update their details or reset their password.

Note: Updating LTI ID’s on student or teacher accounts will currently need to be actioned via our Support Team while we build out this functionality for teachers and school administrators to update this themselves. Please contact support@educationperfect.com if you need these values updated on your accounts.
Adding students
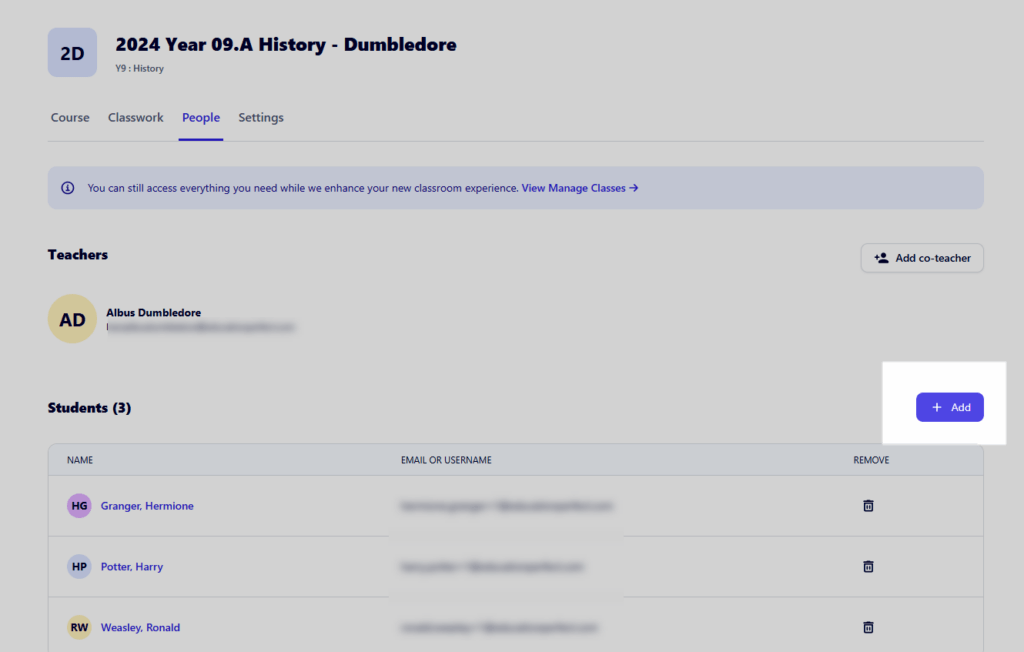
To add students to classes assigned to you, click the +Add button in the People tab of the class.
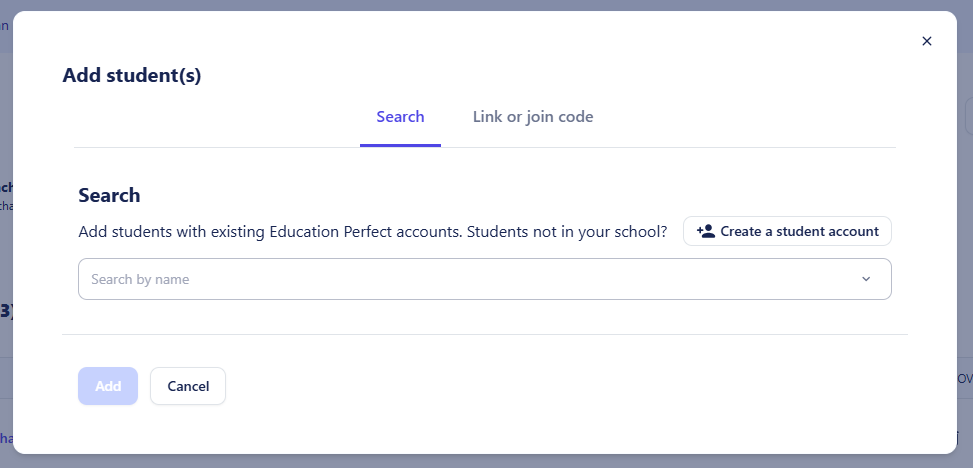
In the prompt that appears, you have two options:
- You can search for any students with existing accounts to add to your class. If they don’t yet have an existing account, you’ll be given the option to create one.
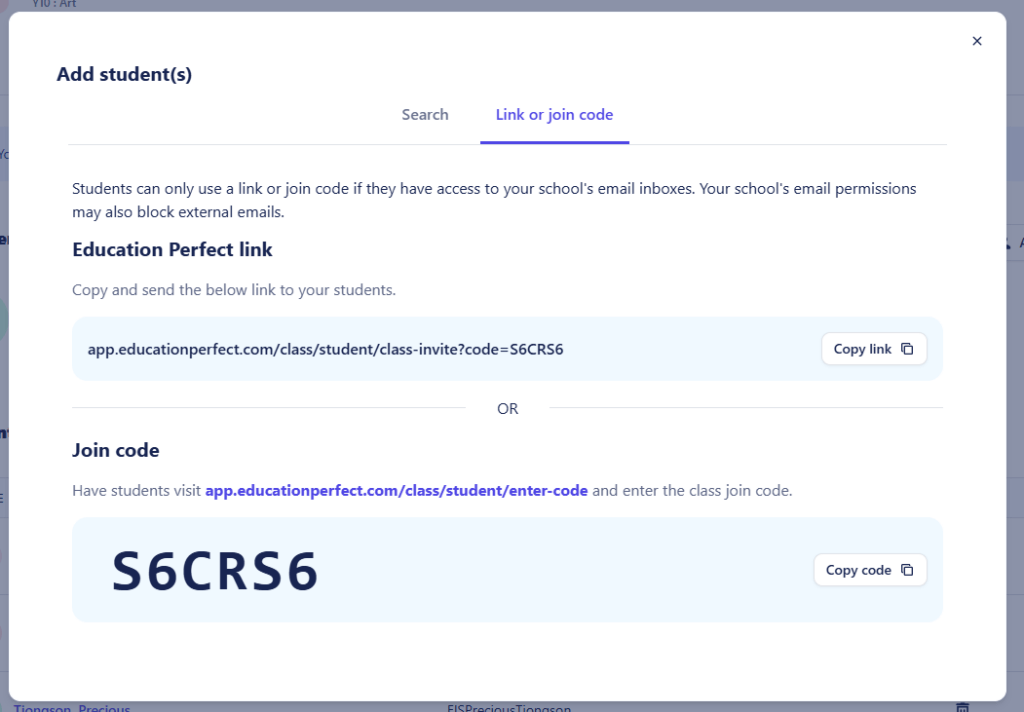
- You can toggle over to Link or join code that can be shared with your students, this will enable them to add themselves to your class. This option works for new and existing student accounts.
Find out more about managing class join codes here. Students can add themselves to your class by following these instructions.
When adding students directly, try different iterations (e.g. Matt vs Matthew).
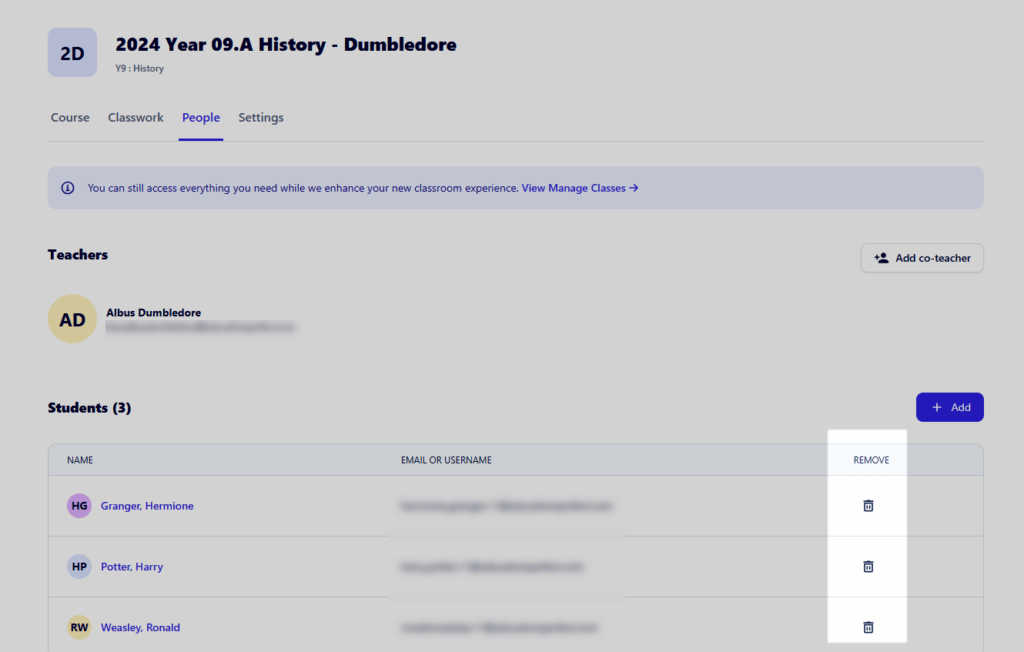
Removing students
In order to remove a student from your class, navigate to the People tab of your class. You can then click the trash can icon beside the required student(s) in order to remove them from your class.
Deactivate accounts
To deactivate a student account, you’ll need to reach out to one of your school administrators within EP. They’ll be able to deactivate the student and remove them from all their classes with the click of a button from the People area of your school. More information to do with this can be found here.
Other account changes
Check out our resources for more information on managing student accounts:
Stuck? Feel free to contact us for further assistance.