
Active Directory Federation Services Configuration (SHA-256)
This article provides information on how to configure your Active Directory Federation Services (ADFS) for use with Education Perfect's Single Sign-On (SSO) system.
In this article
The SSO setup process

The steps and screenshots in this article are for Windows Server 2016, but similar steps should be possible on other versions.
Sending us your metadata
Please send the following to support@educationperfect.com so we can start the set up:
- The Federated Metadata XML - By default the URL for this is https://your-adfs-server.your-domain/FederationMetadata/2007-06/FederationMetadata.xml
You can either send us the URL or a copy of the XML itself. - Credentials for a test student account (username and password) Important: please ensure that these credentials match the conventions in place for your other users- this includes group membership as applicable in your system, particularly if you did not choose to 'permit everyone' in the Access Control Policy screen.
- Check that you have at least TLS 1.2 installed as this is required to read our metadata. Please see here for more information.
Secondary Steps
Once we have added your metadata, and sent you back the details, the first step is to add Education Perfect's SSO server as a Relying Party Trust on your ADFS server. The steps to add this are as follows:
Add Relying Party Trust
- Open AD FS Management from Administrative Tools.
- Right-click on Relying Party Trusts and select Add Relying Party Trust. This will open the Add Relying Party Trust Wizard.
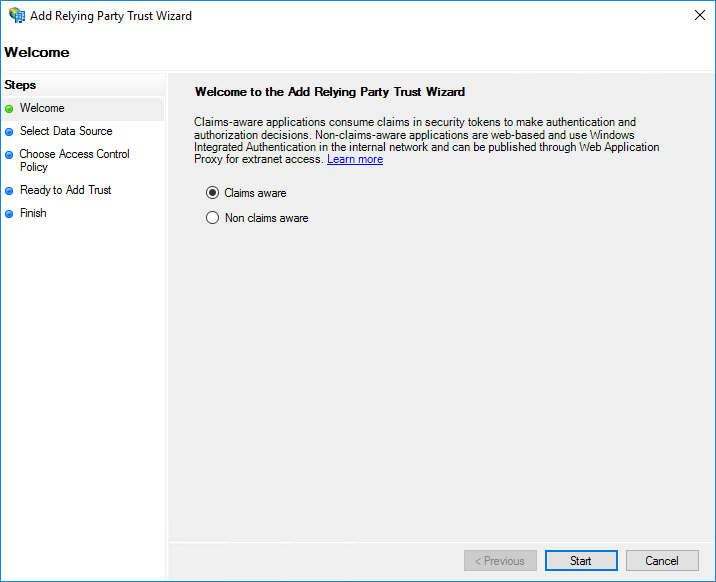
- On the Welcome screen, select Claims aware, then click Start.
- On the Select Data Source screen, select Import data about the relying party published online or on a local network and enter the Issuer URL that we sent in the Federation metadata address text box, then click Next.

If you are receiving the below error, please visit this link for information on how to enable TLS 1.2

If this still does not work, you may need to download the data via a web browser, save to a file via Notepad and "Import data about the relying party from a file" - On the Specify Display Name screen, enter a display name for the Trust and add any desired notes about the Trust, then click Next.
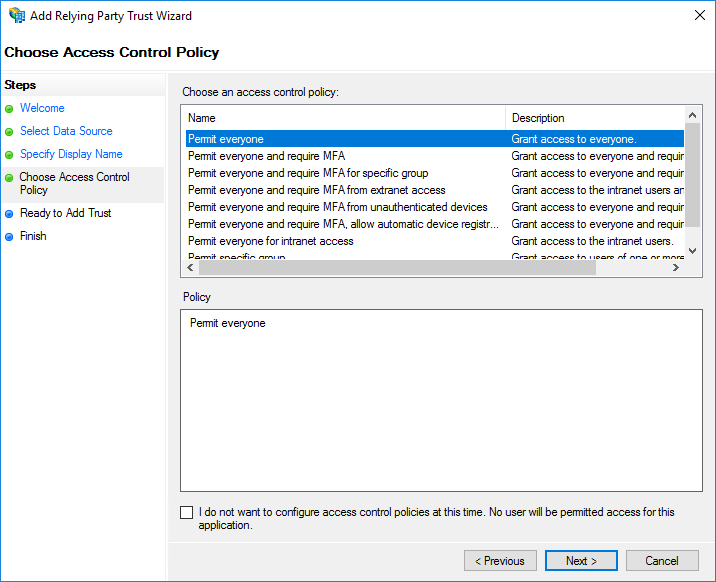
- On the Choose Access Control Policy screen, select the appropriate Access Control Policy for your school, then click Next.
- On the Ready to Add Trust screen, the configuration will be loaded from our metadata. Click Next.

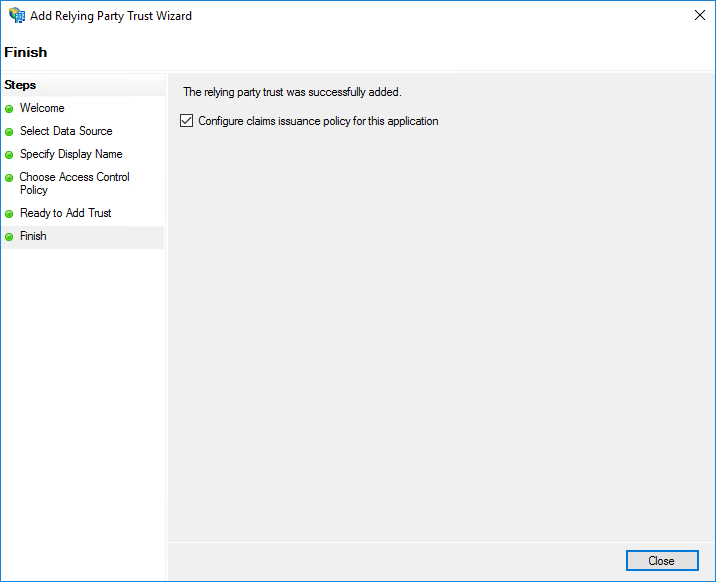
- Leave the Configure claims issuance policy for this application box ticked and click Close.
- The Relying Party Trust will now appear in the list under the Display Name you specified in step 5.

Configure Secure Hash Algorithm
As our service is configured to use SHA-256 as its hashing algorithm, your ADFS server must be configured to do the same. The steps to configure this are as follows:
- Open AD FS Management from Administrative Tools.
- Select Relying Party Trusts.
- Right-click on the entry for Education Perfect and select Properties.
- Select the Advanced tab.
- Change the Secure Hash Algorithm to SHA-256 and click OK.

Configure Claims Transformation
Education Perfect requires a unique value provided by the ADFS server to be associated with each user in our system. The most common scenario is to provide a unique value stored in Active Directory, such as the user name or email address, as the unique identifier. The following is an example of how to set up Issuance Transform Rules for the Claim Issuance Policy that supplies the user's email address as the unique identifier.
- Open AD FS Management from Administrative Tools.
- Select Relying Party Trusts.
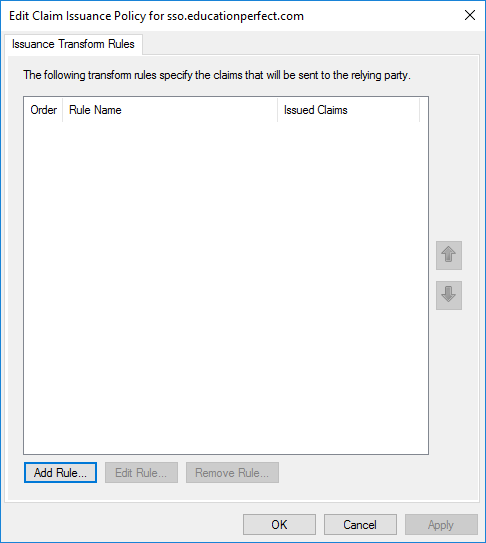
- Right-click on the entry for Education Perfect and select Edit Claim Issuance Policy.
- Set up a rule to retrieve the user's email address from Active Directory and send it through as the email address claim.
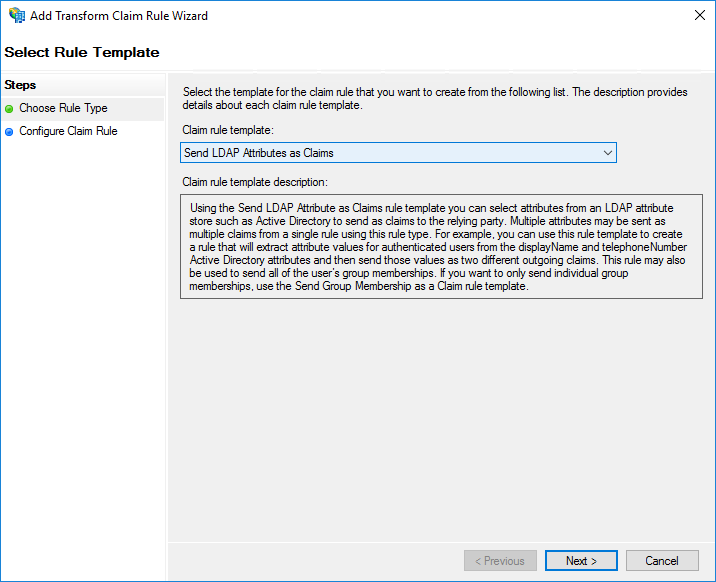
- Click Add Rule, this will open the Add Transform Claim Rule Wizard.
- On the screen, select Send LDAP Attributes as Claims from the Claim rule template list, then click Next.
- On the Configure Claim Rule screen:
- Enter a name for the rule, such as "Send LDAP Email as Email Claim", in the Claim rule name text box.
- Select Active Directory from the Attribute store list.
- Under Mapping of LDAP attributes to outgoing claim types, select E-Mail-Addresses from the LDAP Attribute list and E-Mail Address from the Outgoing Claim Type list.
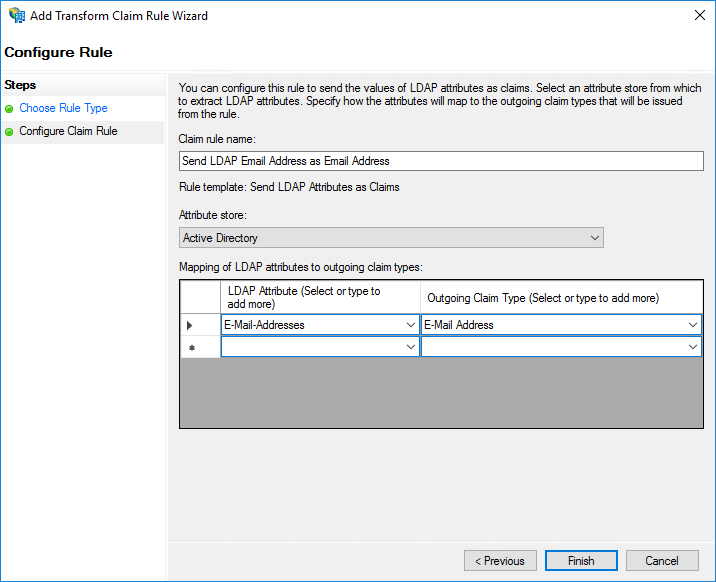
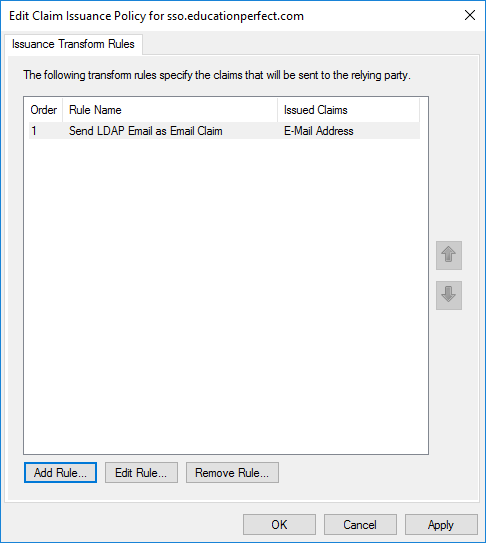
- Click Finish. The rule will be added to the policy.
- Click Add Rule, this will open the Add Transform Claim Rule Wizard.
- Next, a second rule needs to be set up to use the email address claim as the Name ID.
- Click Add Rule, this will open the Add Transform Claim Rule Wizard.
- On the Choose Rule Type screen, select Transform an Incoming Claim from the Claim rule template list, then click Next.

- On the Configure Claim Rule screen:
- Enter a name for the rule, such as "Send Email as Name ID", in the Claim rule name text box.
- Select E-Mail Address from the Incoming claim type list.
- Select Name ID from the Outgoing claim type list.
- Select Email from the Outgoing name ID format list.
- Select the Pass through all claim values option.

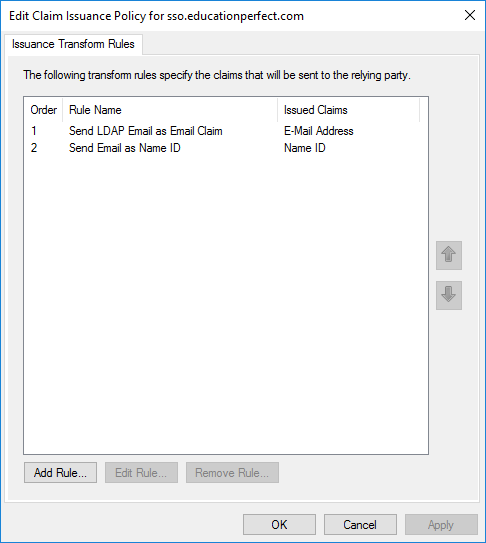
- Click Finish.
- Click Add Rule, this will open the Add Transform Claim Rule Wizard.
- Verify that both rules are showing in the list of Issuance Transform Rules in the order in which you created them, then click OK.
Why do you require two claim transformations?
The first transformation sends us the email address as the NameID, the second identifies the format of the NameID as an email address.
Please see the first answer here for more detailsMatch existing users to their ADFS accounts
If your students have already been using Education Perfect without an ADFS integration, their EP accounts will need to be linked to the unique identifier ADFS uses to confirm their identity. The above claims transformation will make this their email address, but we use the test accounts to confirm everything is configured correctly.
If we already have the unique identifier associated with teachers' and students' accounts, for example, because it's their email addresses, we'll match up everyone we can on your behalf. We will then send you a list of anyone we couldn't match. Once you send us the details for those people, we'll update them as well.
Please note that until we have completed this step, users will get an error if they attempt to log into Education Perfect via ADFS.


